Another great demo from Ian and Sean on root over rock last month and if you’ll excuse the pun, between them they covered all facets. Root over rock can be broken down into three basic parts: selecting the material, putting the plant material onto the rock and developing the bonsai on the rock. Each stage was illustrated by the variety of material they brought along.
Sean started with an established maple that had been placed on the rock about ten years ago. A beautiful tree, but with a cautionary tale- last summer the roots were exposed to too much sun and a significant root died, it had cooked on the hot rock. Sean suggested placing root over rock bonsais in the shade around November to avoid this. While disappointing to have such an unnecessary mishap, Sean wasn’t too fussed and discussed changing the front but finally decided that he would replace the dead root with a grafted whip in spring.
The choice of rock is important- you can’t change things later so you must do the best you can at the time. The rock has to allow the tree to grasp it nicely and it should contrast with the tree’s roots. For example, choose a dark rock for pines. The scale of the finished product must also be taken into account, a large rock with a small tree or a small rock with a large tree is not going to end in a pleasing result. Ian joked that the root over rock fig he had brought to illustrate this point had grown very well but the rock, not at all- it had all but disappeared! Finally, always plant on an angle, never straight and not at the top of the rock. Scale and angle are very important.
Ian brought back two of the Japanese black pines he used in last year’s demonstration when he explained how he initially developed the roots. His method is to cut the tap root and then plant each pine into a tall bulb pot (the ones that have a very open bottom) and then shallowly plant two of these into a black plastic pot so the roots can continue to grow down into it. (See photo below.)
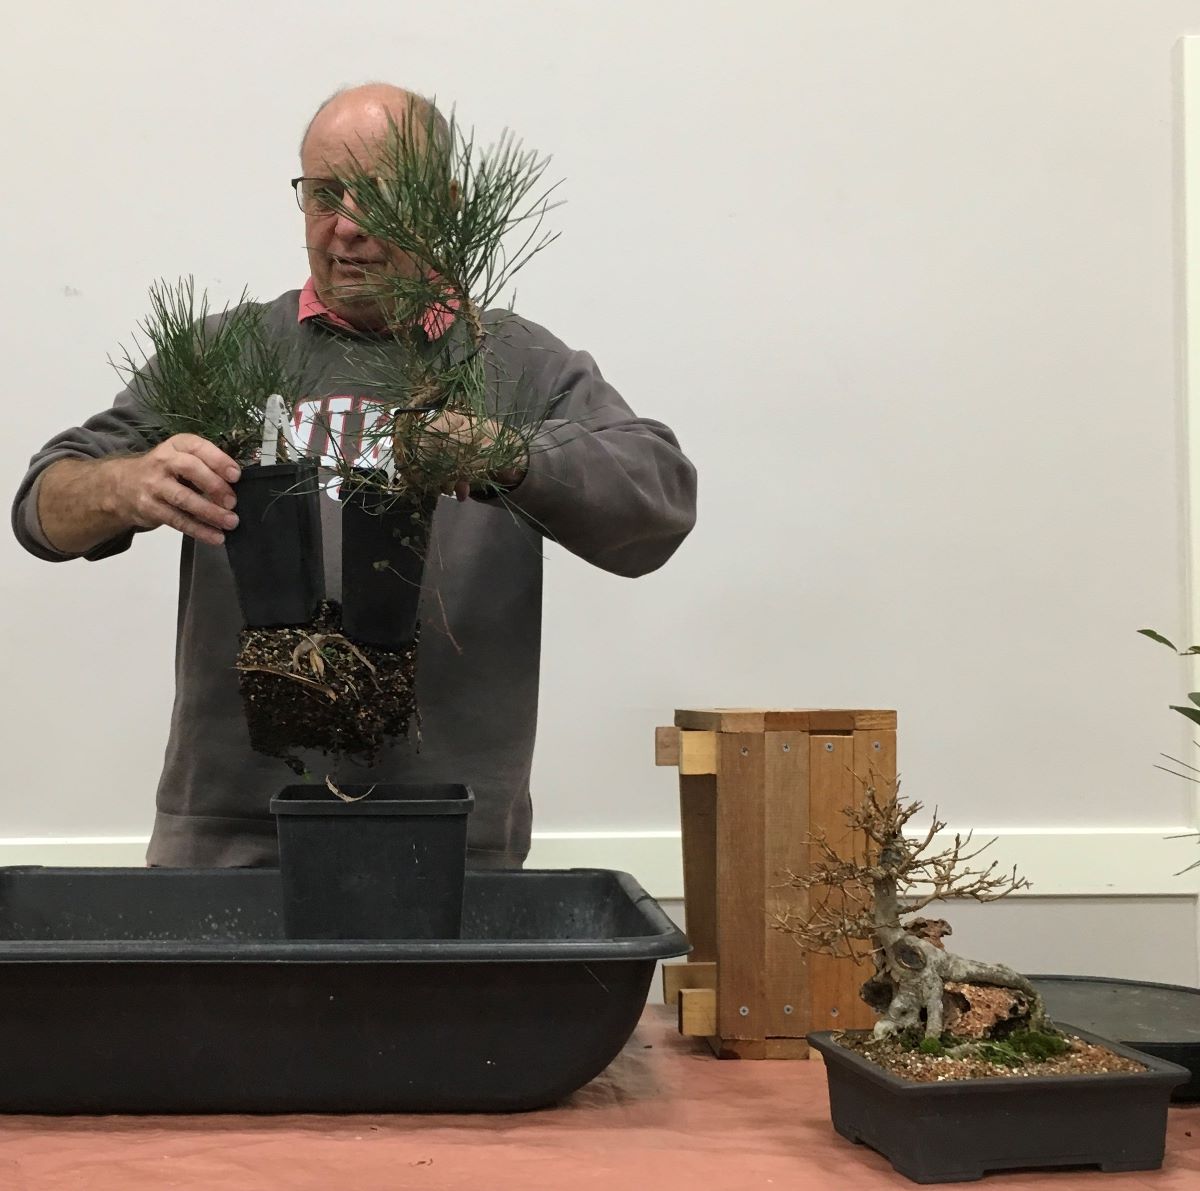
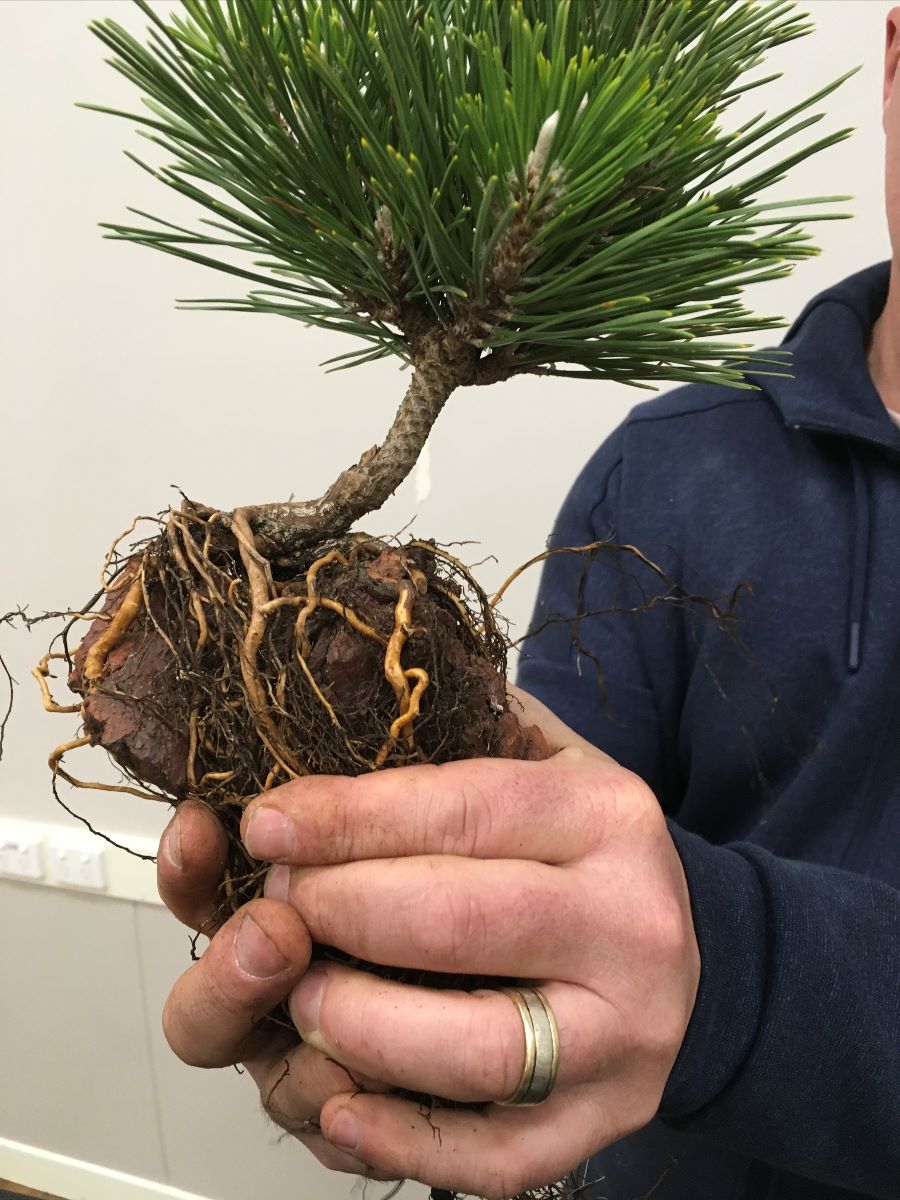
After a year, the roots had developed well and were growing strongly into the second pot so the trees were now ready to work on, however only one turned out to be suitable for this demonstration. Sean brought a small needled black pine he had bought from Ray Nesci that afternoon along with the rock.
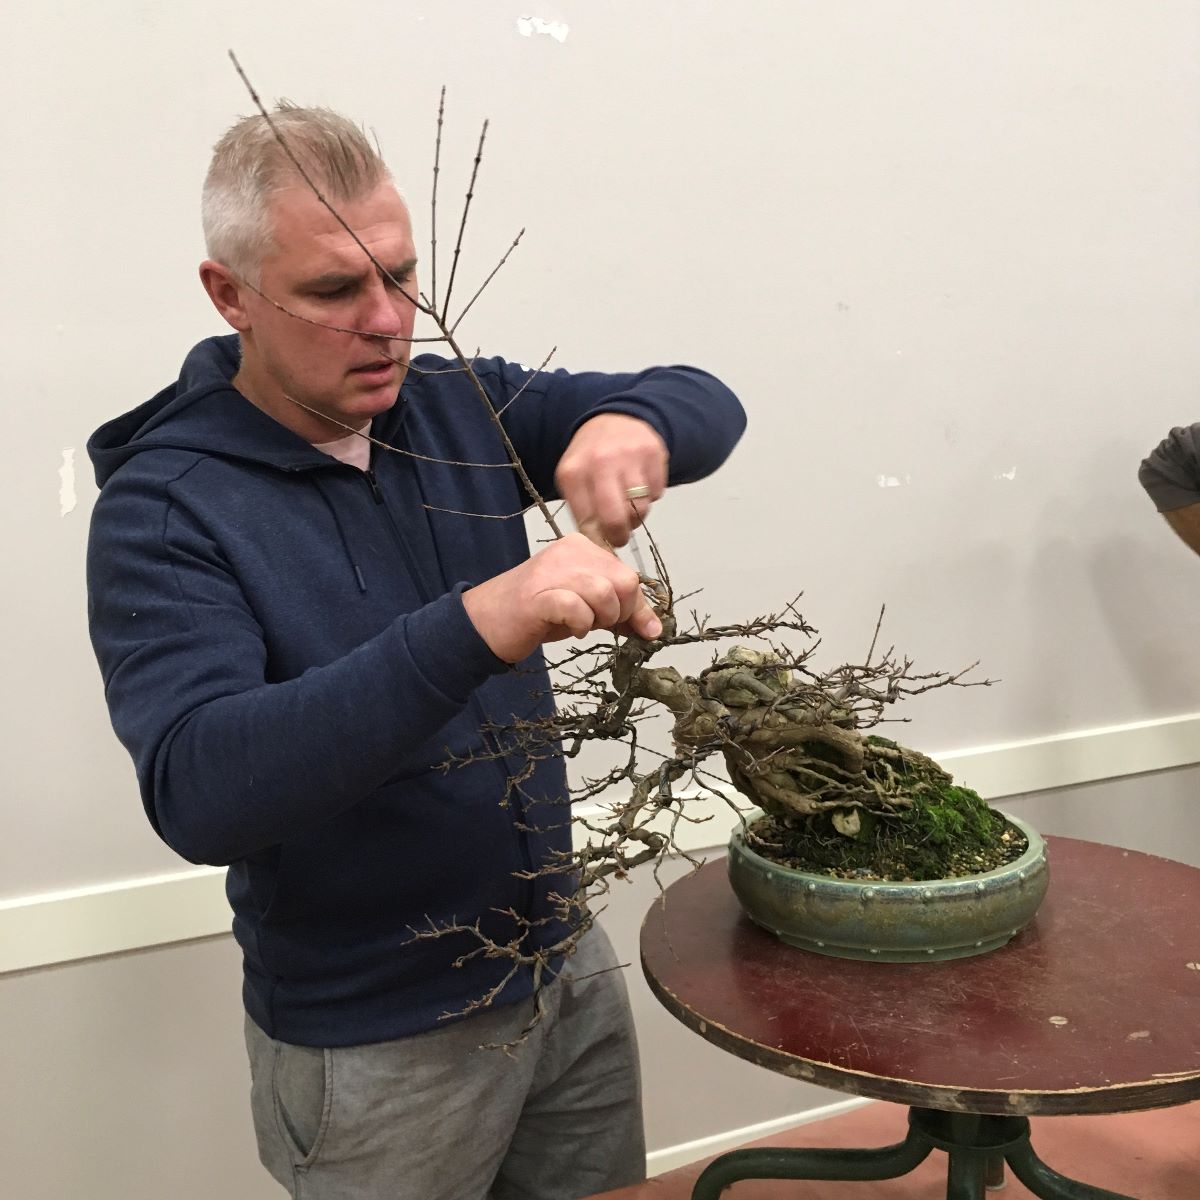
When preparing their trees for placement on the rock, both Ian and Sean teased out the roots very carefully to avoid breaking any. The roots need to small, no bigger than a pencil so they are pliable and can be attached snugly to the rock with no gaps between the root and the rock. As many roots as possible are left at this stage and are woven and plaited around the rock- any excess can be removed later. Roots are misted throughout this stage. Sean took a lot of care placing the bare rooted pine on the rock playing around with the position until he was happy that the roots had a ‘nice wriggle and add a bit of character’.
At this point, Ian and Sean differed in their approach on how to attach the tree to the rock. Ian uses pantyhose, cable ties or budding tape while Sean always uses wire because he wants it to bite in. This flattens the roots onto the rock giving them the appearance of age- flat, clinging and older rather than young and round. (This works especially well for figs.) At this point, Sean cautioned to cut any root that is ugly because it won’t improve or any that is not attached to the rock because these grow strongly and spoil things later.
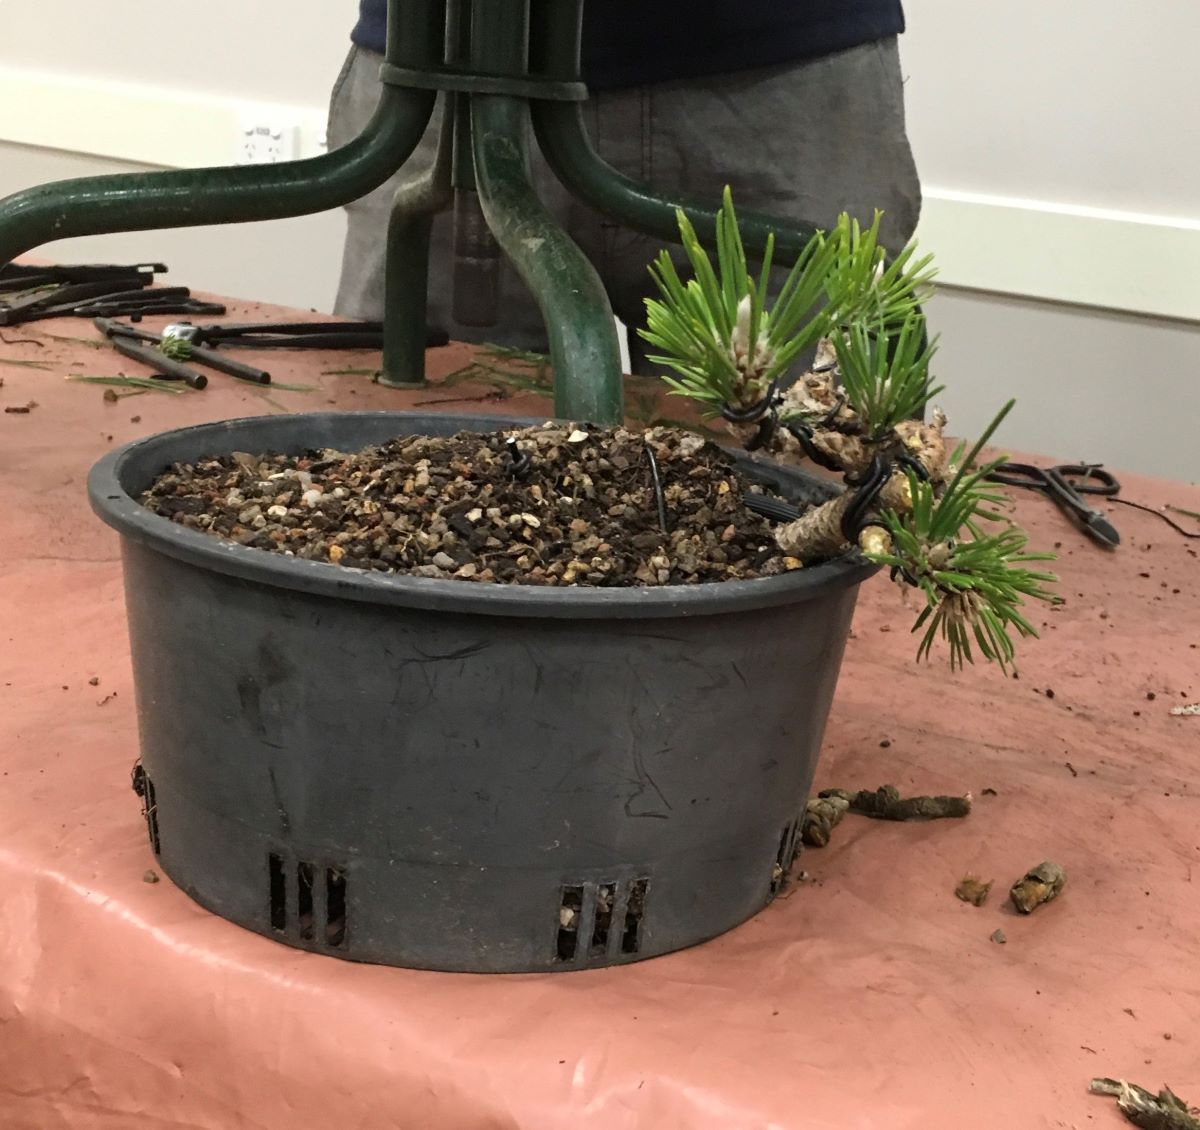
Ian had several rocks and used these to show how some rocks can look much better than others emphasising that the important thing at this point was the angle of the tree on the rock and then decision of what is to be done to the tree. The pine was attached to the rock using cable ties, making sure to avoid a hole in the rock that would later become a feature. Ian then wired a black pot so the rock could be attached, put soil in the base, placed the rock on this, filled the pot with soil and wired it into place.
Sean did an initial style, taking out the heaviest branch, needle plucking and wiring all the remaining branches for movement even though some will be sacrificial and removed later. It is easier to do this at this point. Finally the tree and rock were placed upright at the side of a black pot (restricting root growth on that side) and completely covered with soil. It will be placed at the correct angle later but for now, ‘say goodbye to all that work while it sleeps under the soil’ for a year or so.
Ian’s final tree was a Japanese black pine purchased from Ray Nesci as a seedling in 2013. It has a very good trunk for six years, the result of Ian’s power feeding regime for fast development. Although some people say power feeding is not good for the trunk it has not had any detrimental effect in this case.
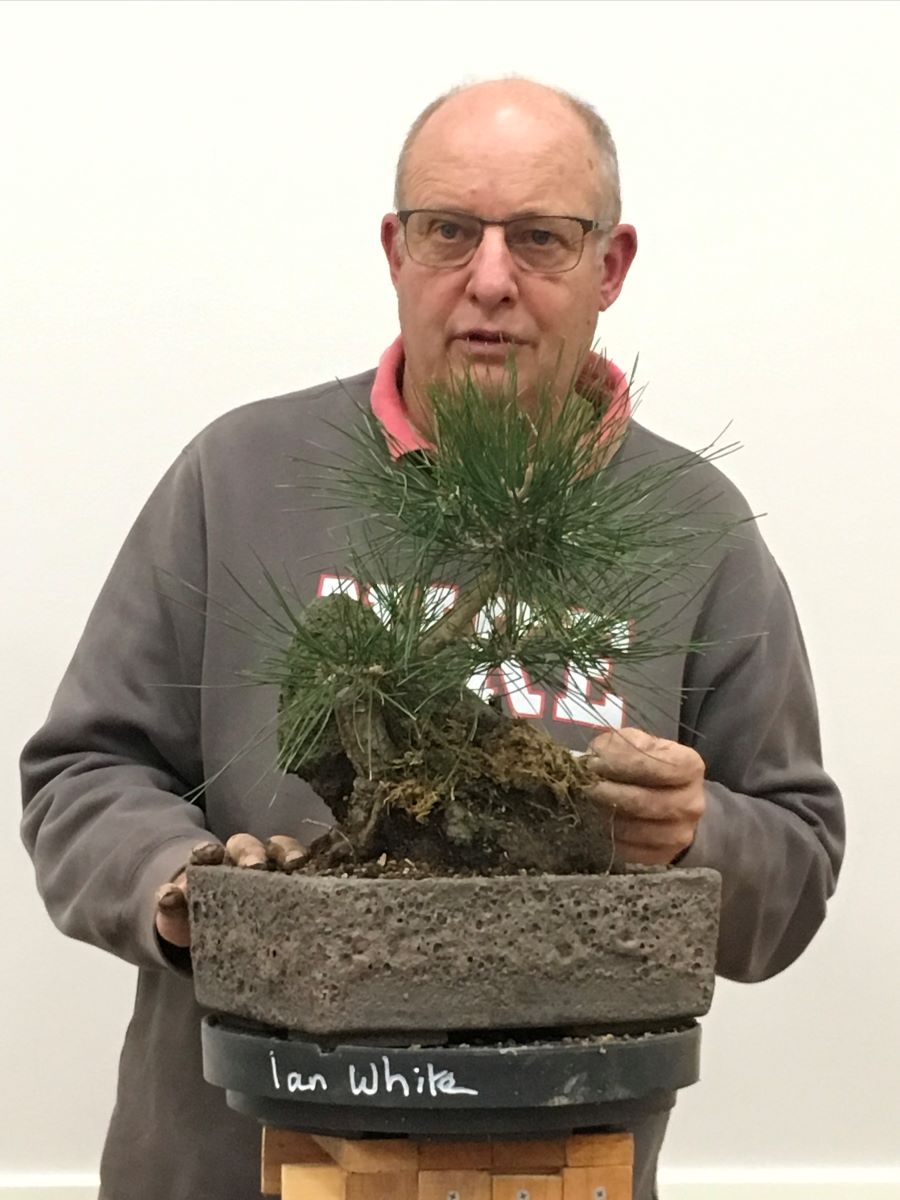
The tree was placed on the rock in 2016 but was too upright so its position in the pot was changed last year. Although a little early to plant this pine in a bonsai pot Ian was going ahead and so a pot was chosen. Luckily the majority of the audience agreed with Ian’s choice of a rectangular, dark brown lava pot (incidentally the smallest of the three). The roots were trimmed and larger wounds sealed and the tree planted into its new pot. The pine was very long and straight from the middle and could have been cut back to the branch below or the tiny shoot. The branch option was chosen as it would not be good for the tree to make such a hard cut now. It will now be left to grow for a year or so.