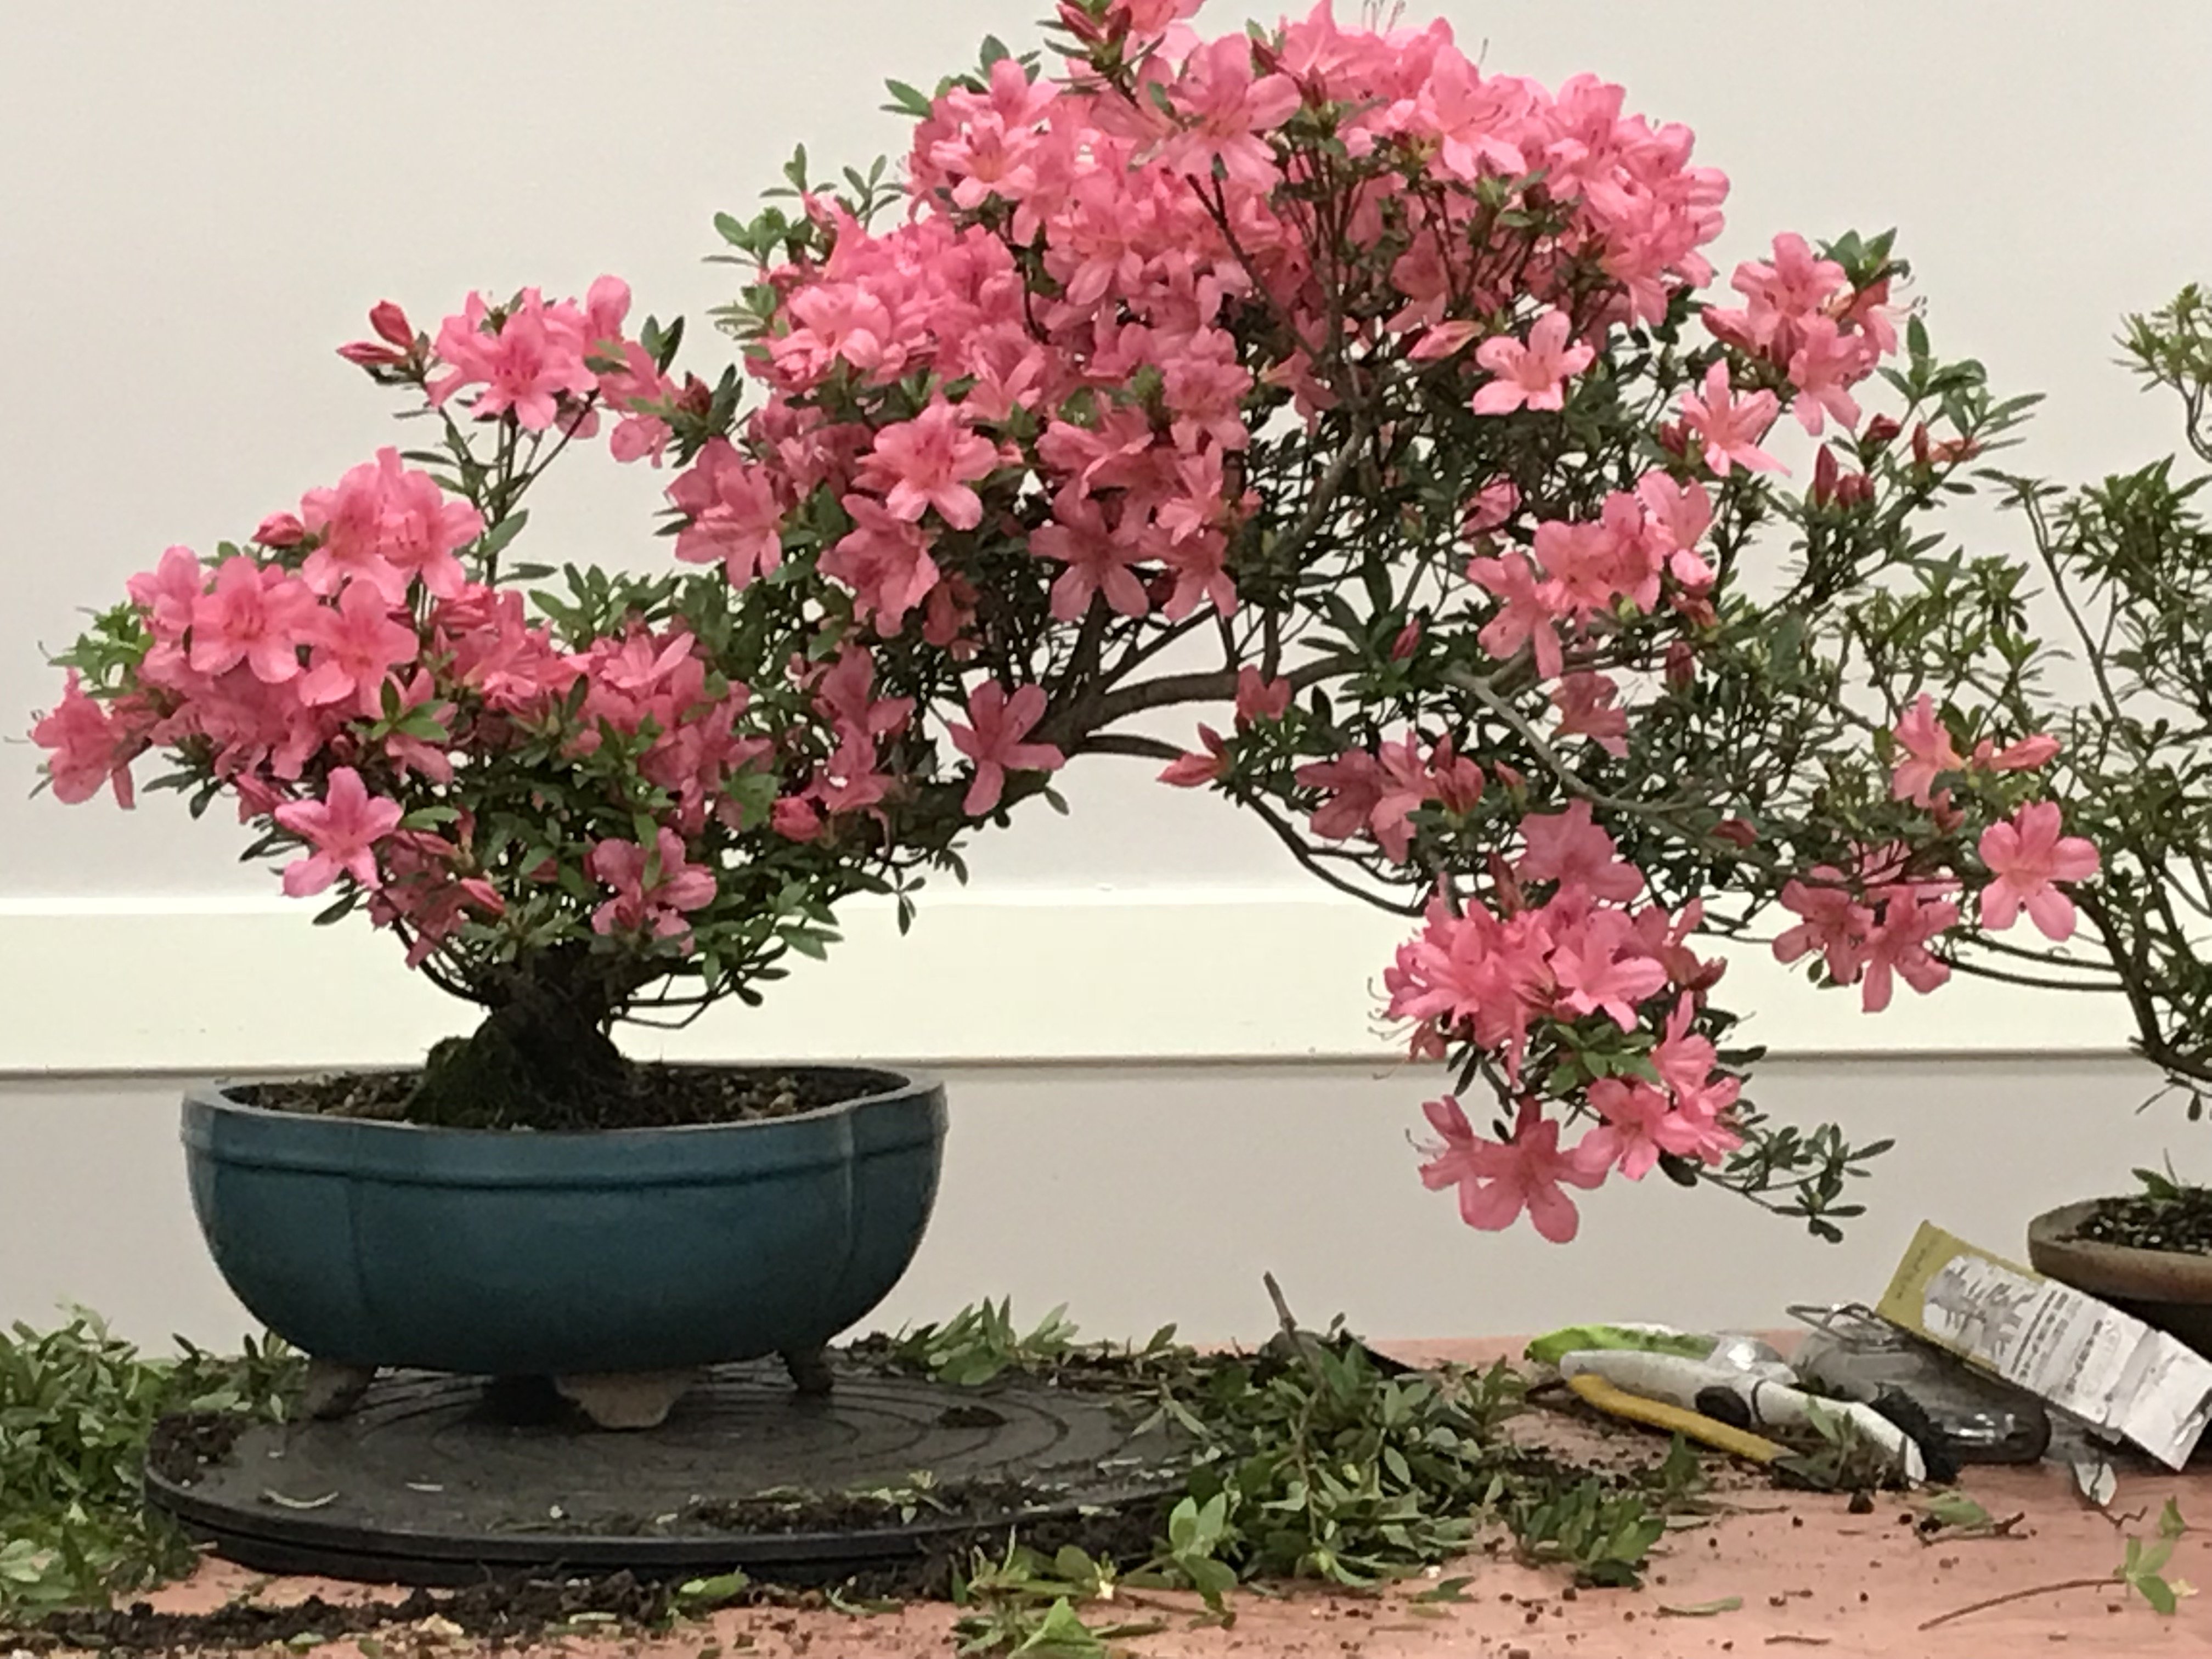
What a great demonstration Brenda gave last month covering all aspects of training, repotting and caring for azaleas. Brenda brought three azaleas to illustrate her talk; a sentimental choice that needed work, the azalea she worked on at our show a couple of years ago, and a plant that had been missed until six or seven weeks ago and then was given the TLC it needed. (See photo above).
By way of introduction, Brenda reminded us about where azaleas grow naturally – on the hills and mountains of the Himalayas, China, Japan and North America and how this influences their growth habits. They are shallow rooted plants that have a fibrous mat of roots when grown in a pot and this needs to remembered in all areas of an azalea’s care.
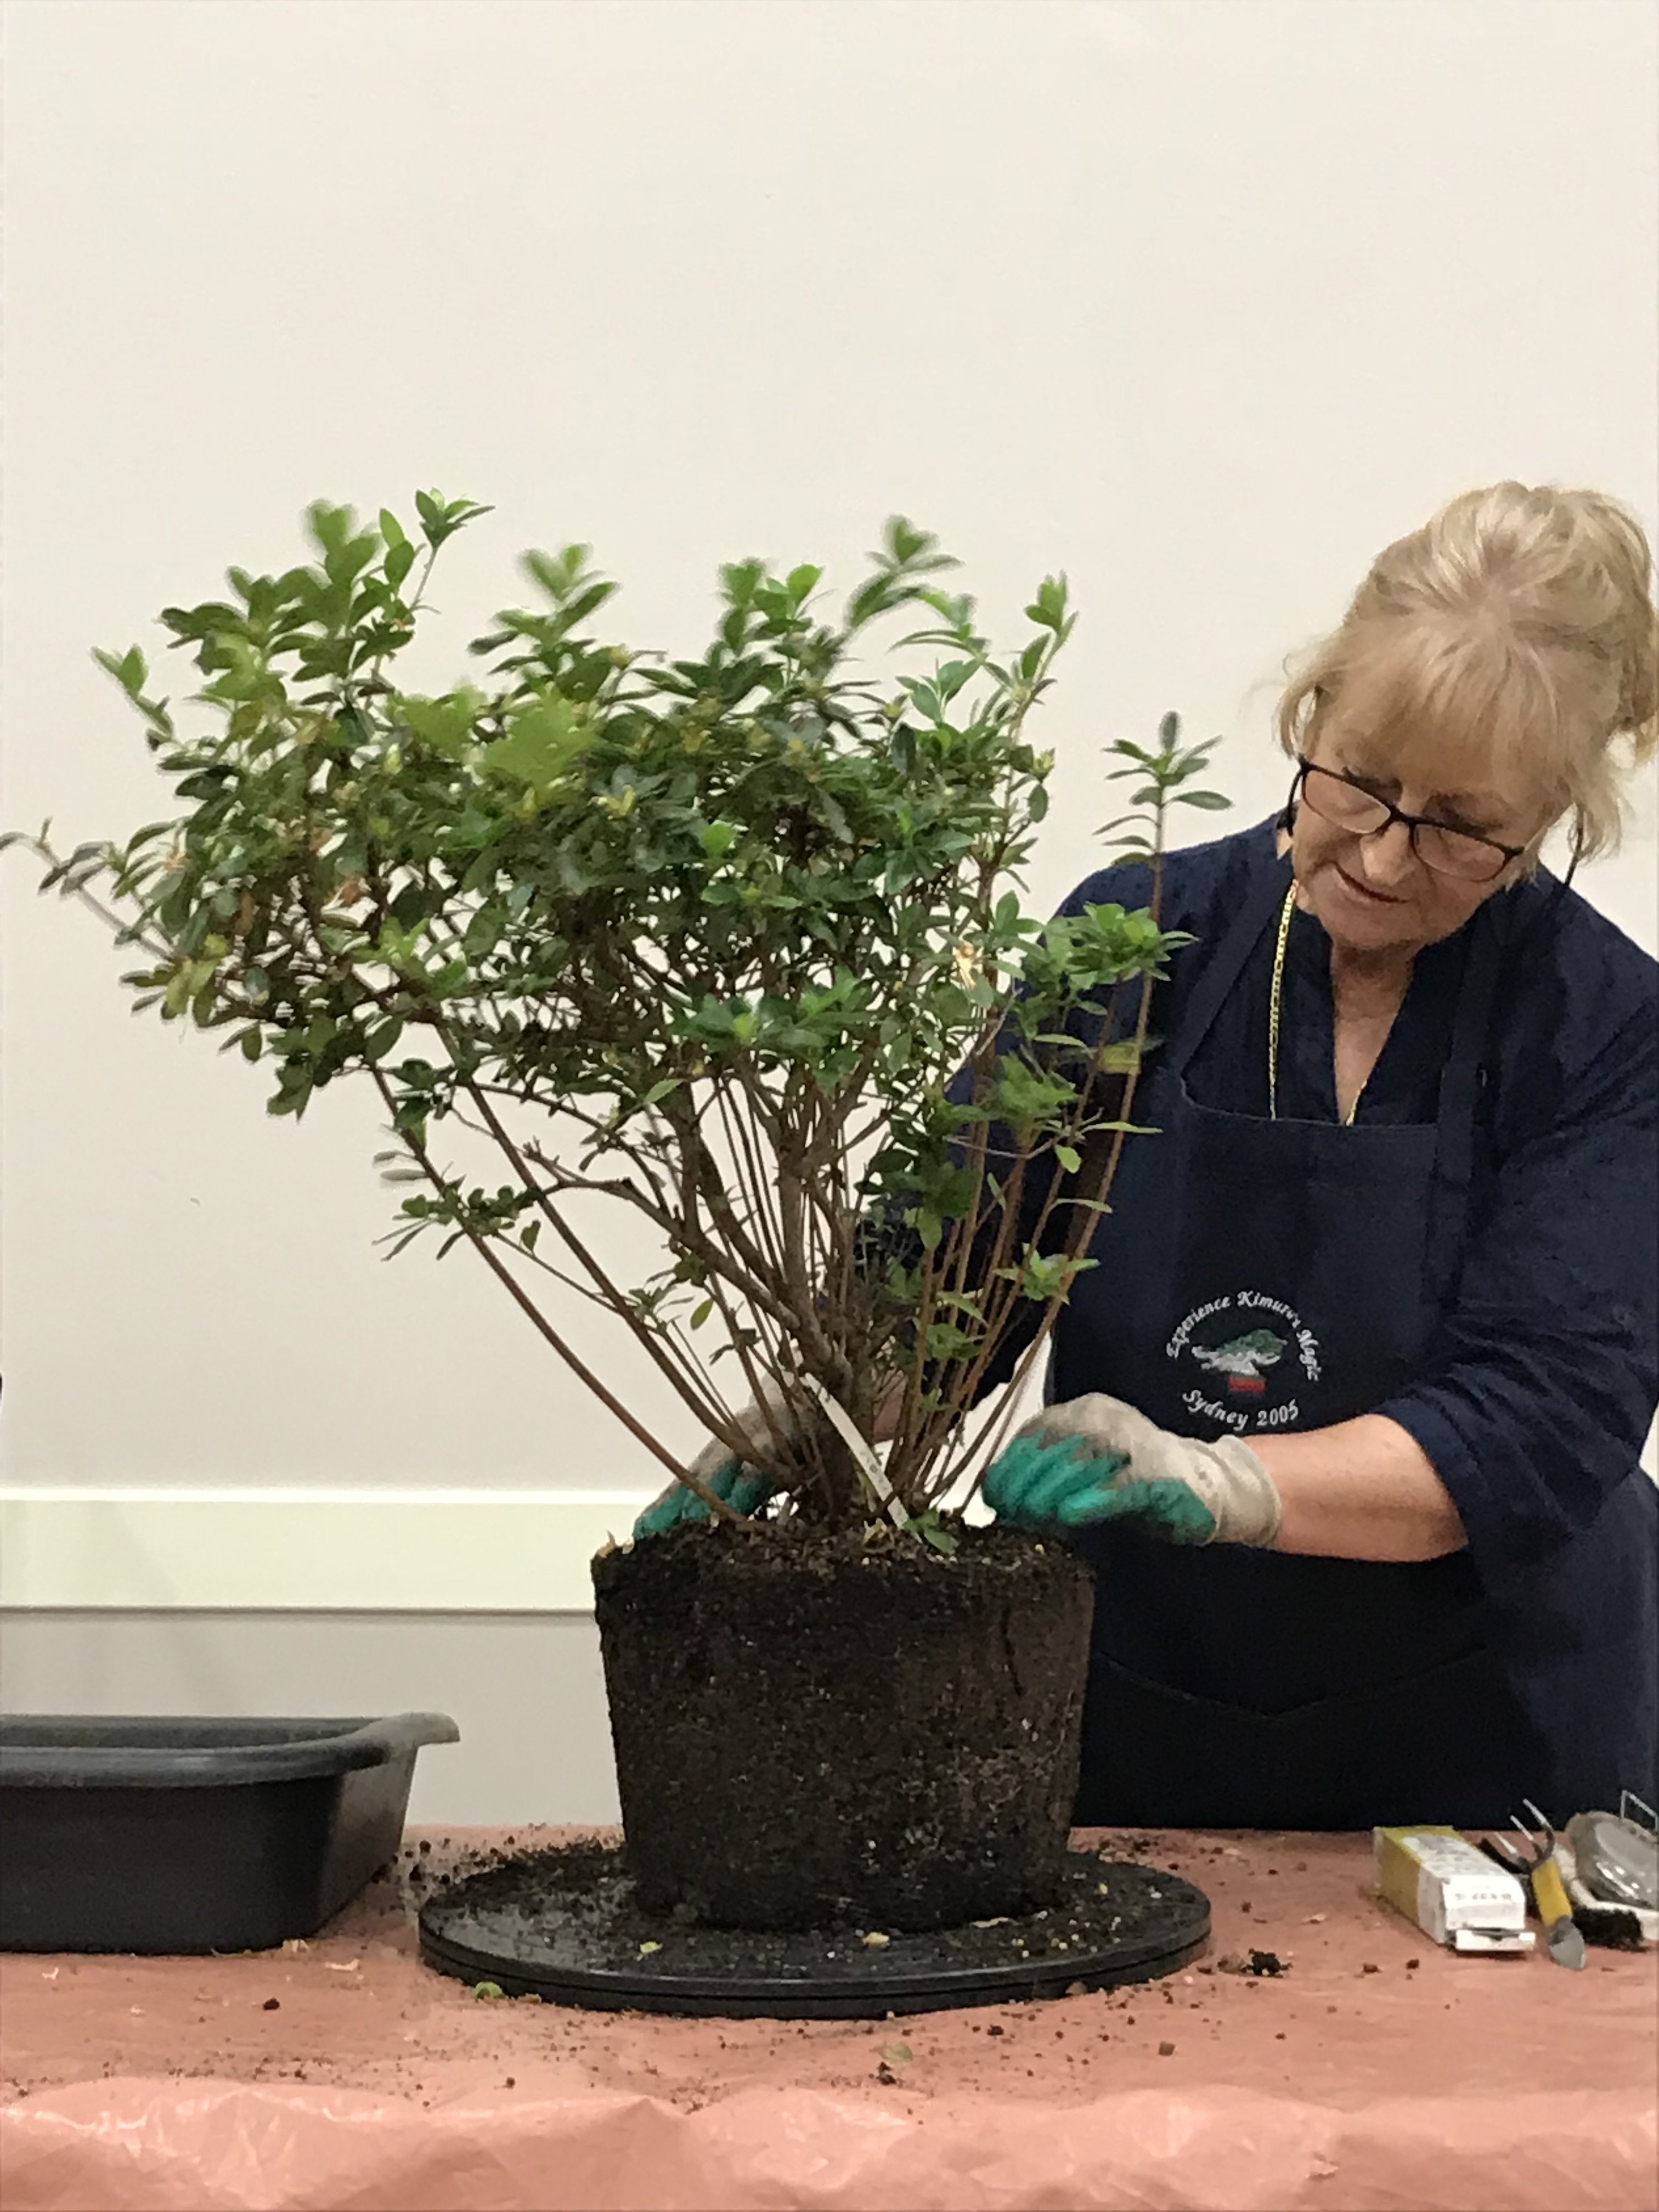 So starting with the sentimental choice Brenda stressed that this was just a preliminary style to show how she goes about it. This plant had been in her care for twelve months and she hadn’t touched it rather letting it gain strength. Whenever she gets a new plant she doesn’t ‘get out and get at it’ but lets it acclimatise before starting work.
To start, Brenda had a look at the base to investigate the nebari above and just below the soil surface.
Next she cleaned out all the twiggy growth at the base leaving three strong trunks and pruned to the tree’s direction, noting that azaleas strike out very well on old wood. Brenda particularly stressed using a sealant immediately after cutting any branch bigger than a chopstick as azalea branches die easily when allowed to dry out. They may take up to five years to die but Brenda’s experience is, die they eventually do! When pruning, Brenda always leaves a little stump and waits until it dries out 2-3 years later. With azaleas, Brenda does not wire much but uses directional pruning stating that no-one notices when they are in flower!
The final step for this tree was a repot. Brenda will use a sharp jet of water and remove as much soil as possible and then place the tree in a Seasol bath for a week and then repot. She uses a gritty, well draining mix for azaleas but stressed that that this works well in her microclimate but may not be perfect for yours.
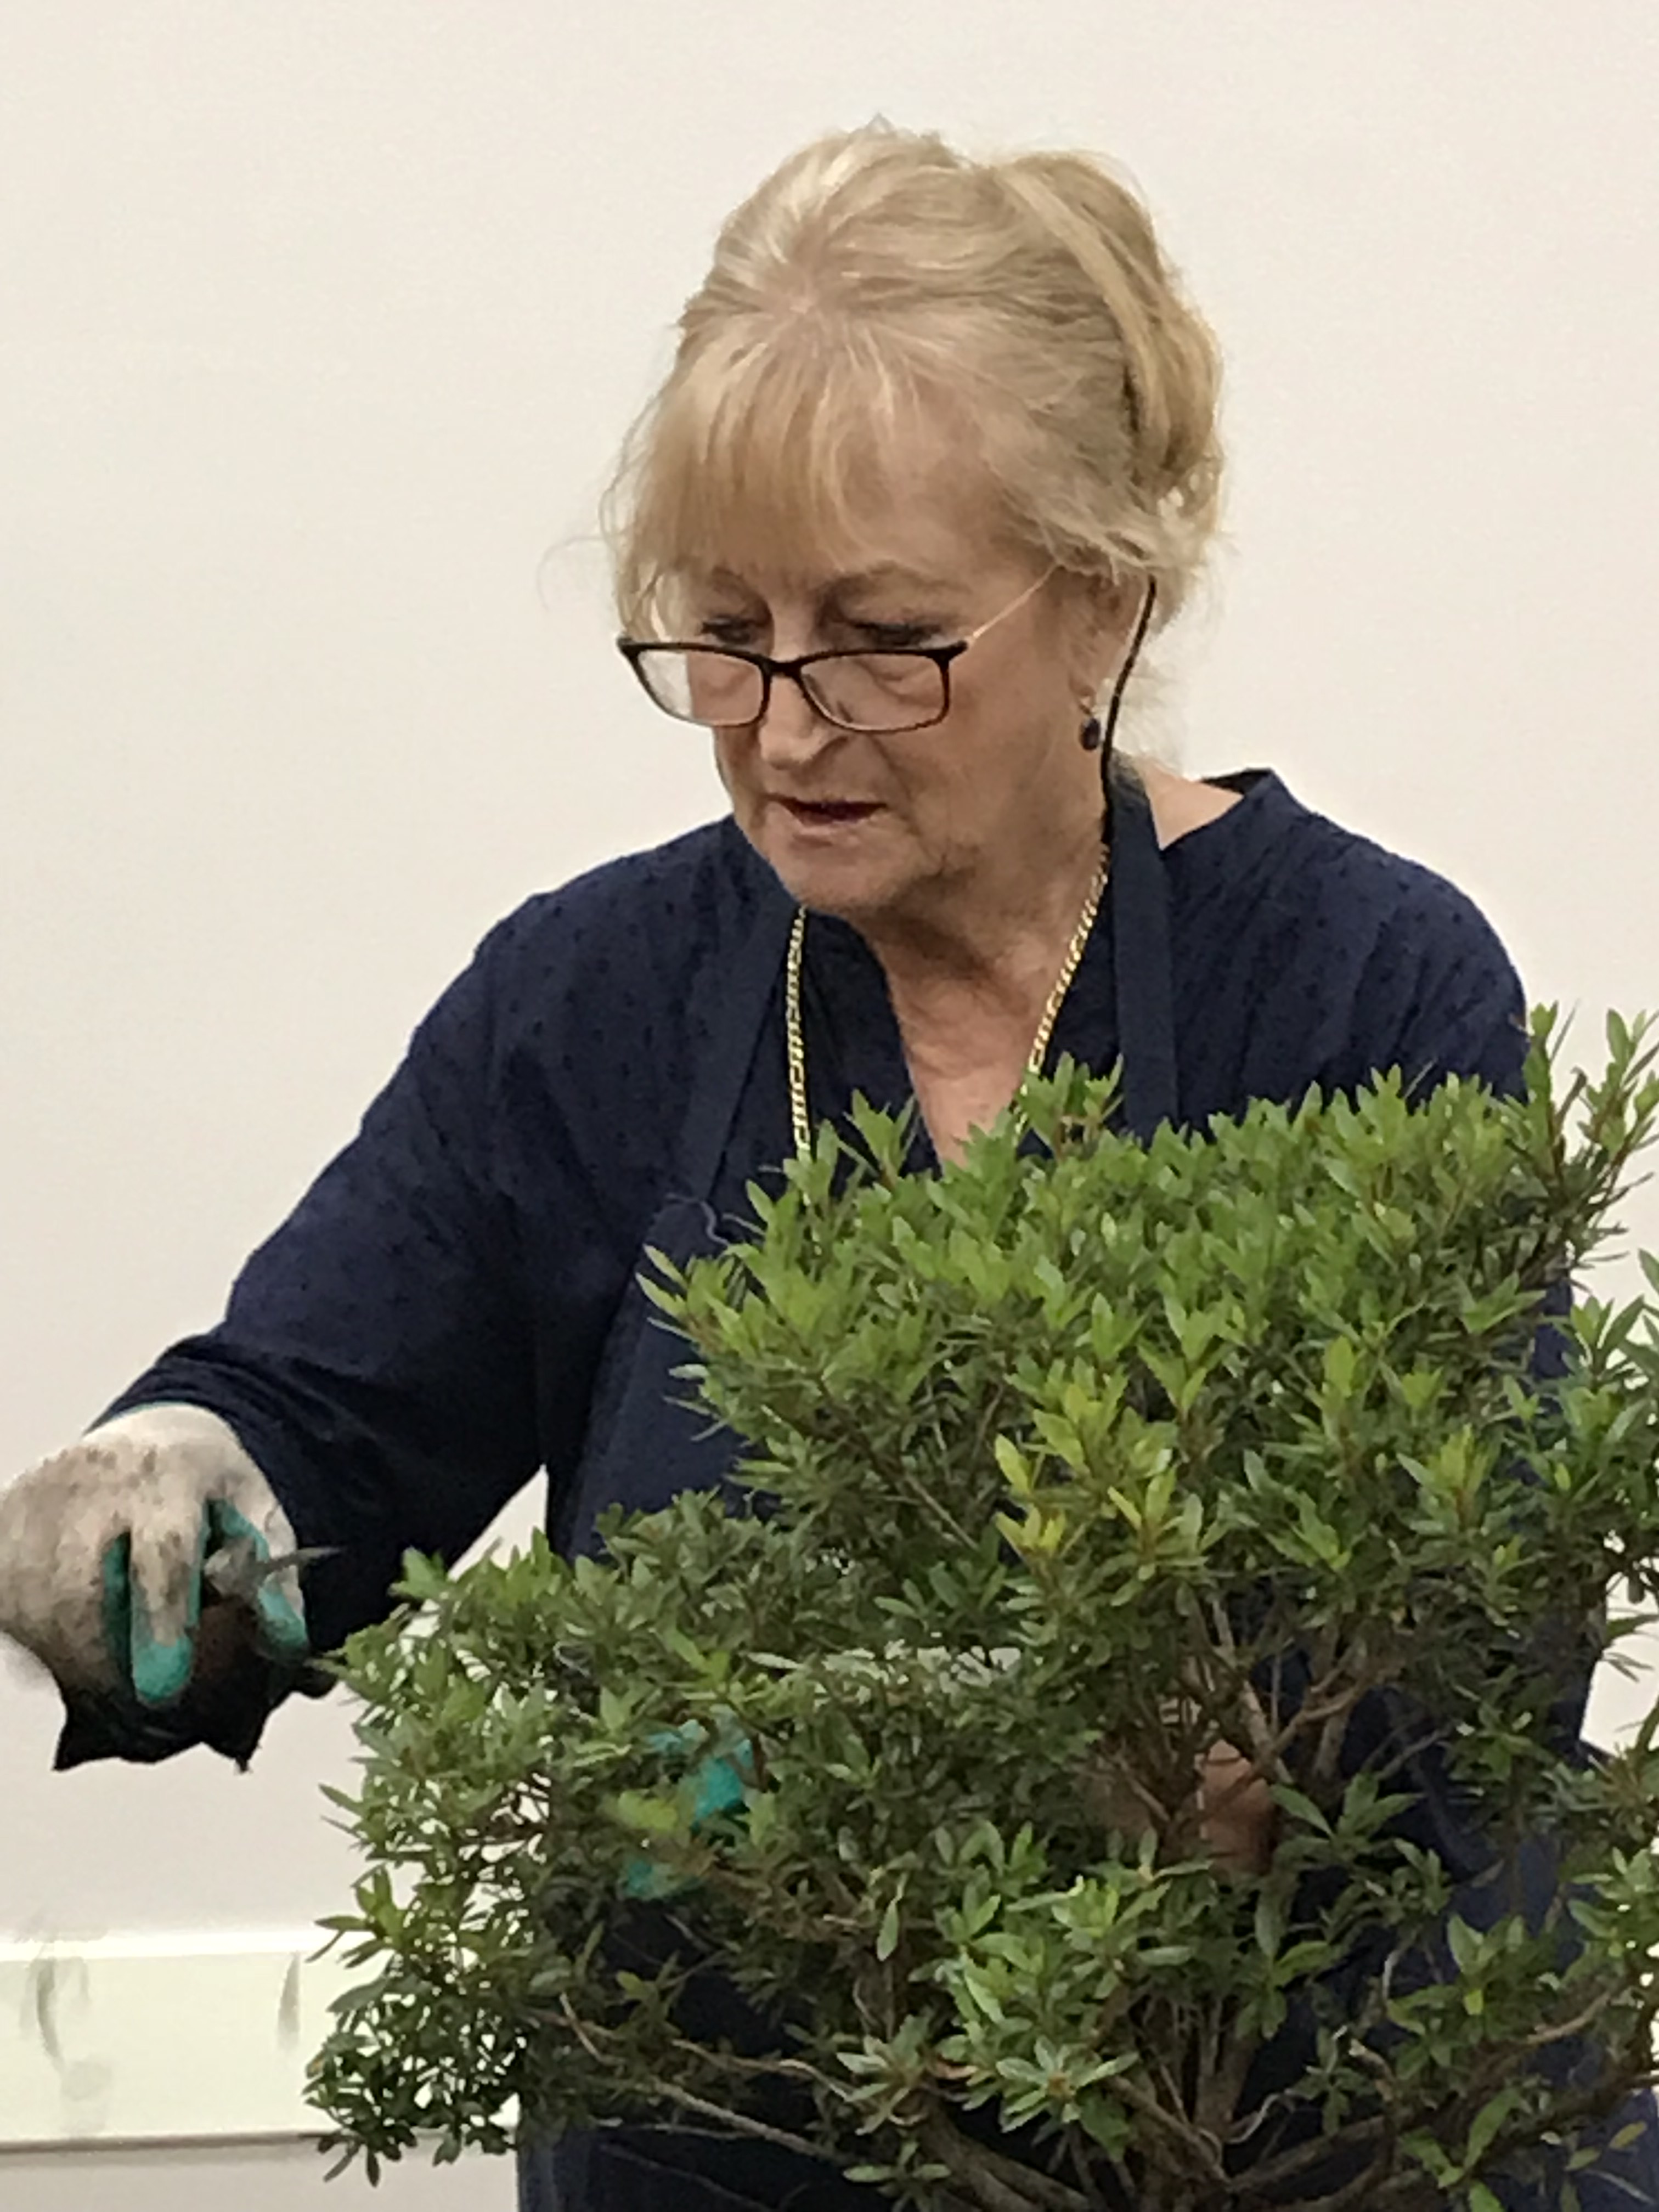 Brenda used the demo tree to show how she trims the foliage. Basically she just pulls down a branch and trims horizontally. This gets the pads started and then she aims for a natural and flowing look. A plant in a pot with a bit of styling because after all, azaleas are all about their flowers. To maximise the show, Brenda stops pruning around mid-January when you can feel the little buds starting to grow. At his point she gives a little boost with Nitrosol and just prunes any long, straggly branches. (Same for camellias).
To get the best out of your bonsai, ‘they need good treatment’, that is, water them, feed them and repot them. Brenda uses Nitrosol as her liquid feed at full strength when needed as it has a good NPK ratio with 12.2% nitrogen, 1.9% phosphorous and 13.1% potassium. The beautiful azalea at the beginning of this article was rather neglected and hadn’t flowered but six weeks later after one dose of Nitrosol the results speak for themselves. At repotting Brenda uses Osmocote on the soil surface and a liquid potash fertiliser from Christmas to May to encourage flowering.
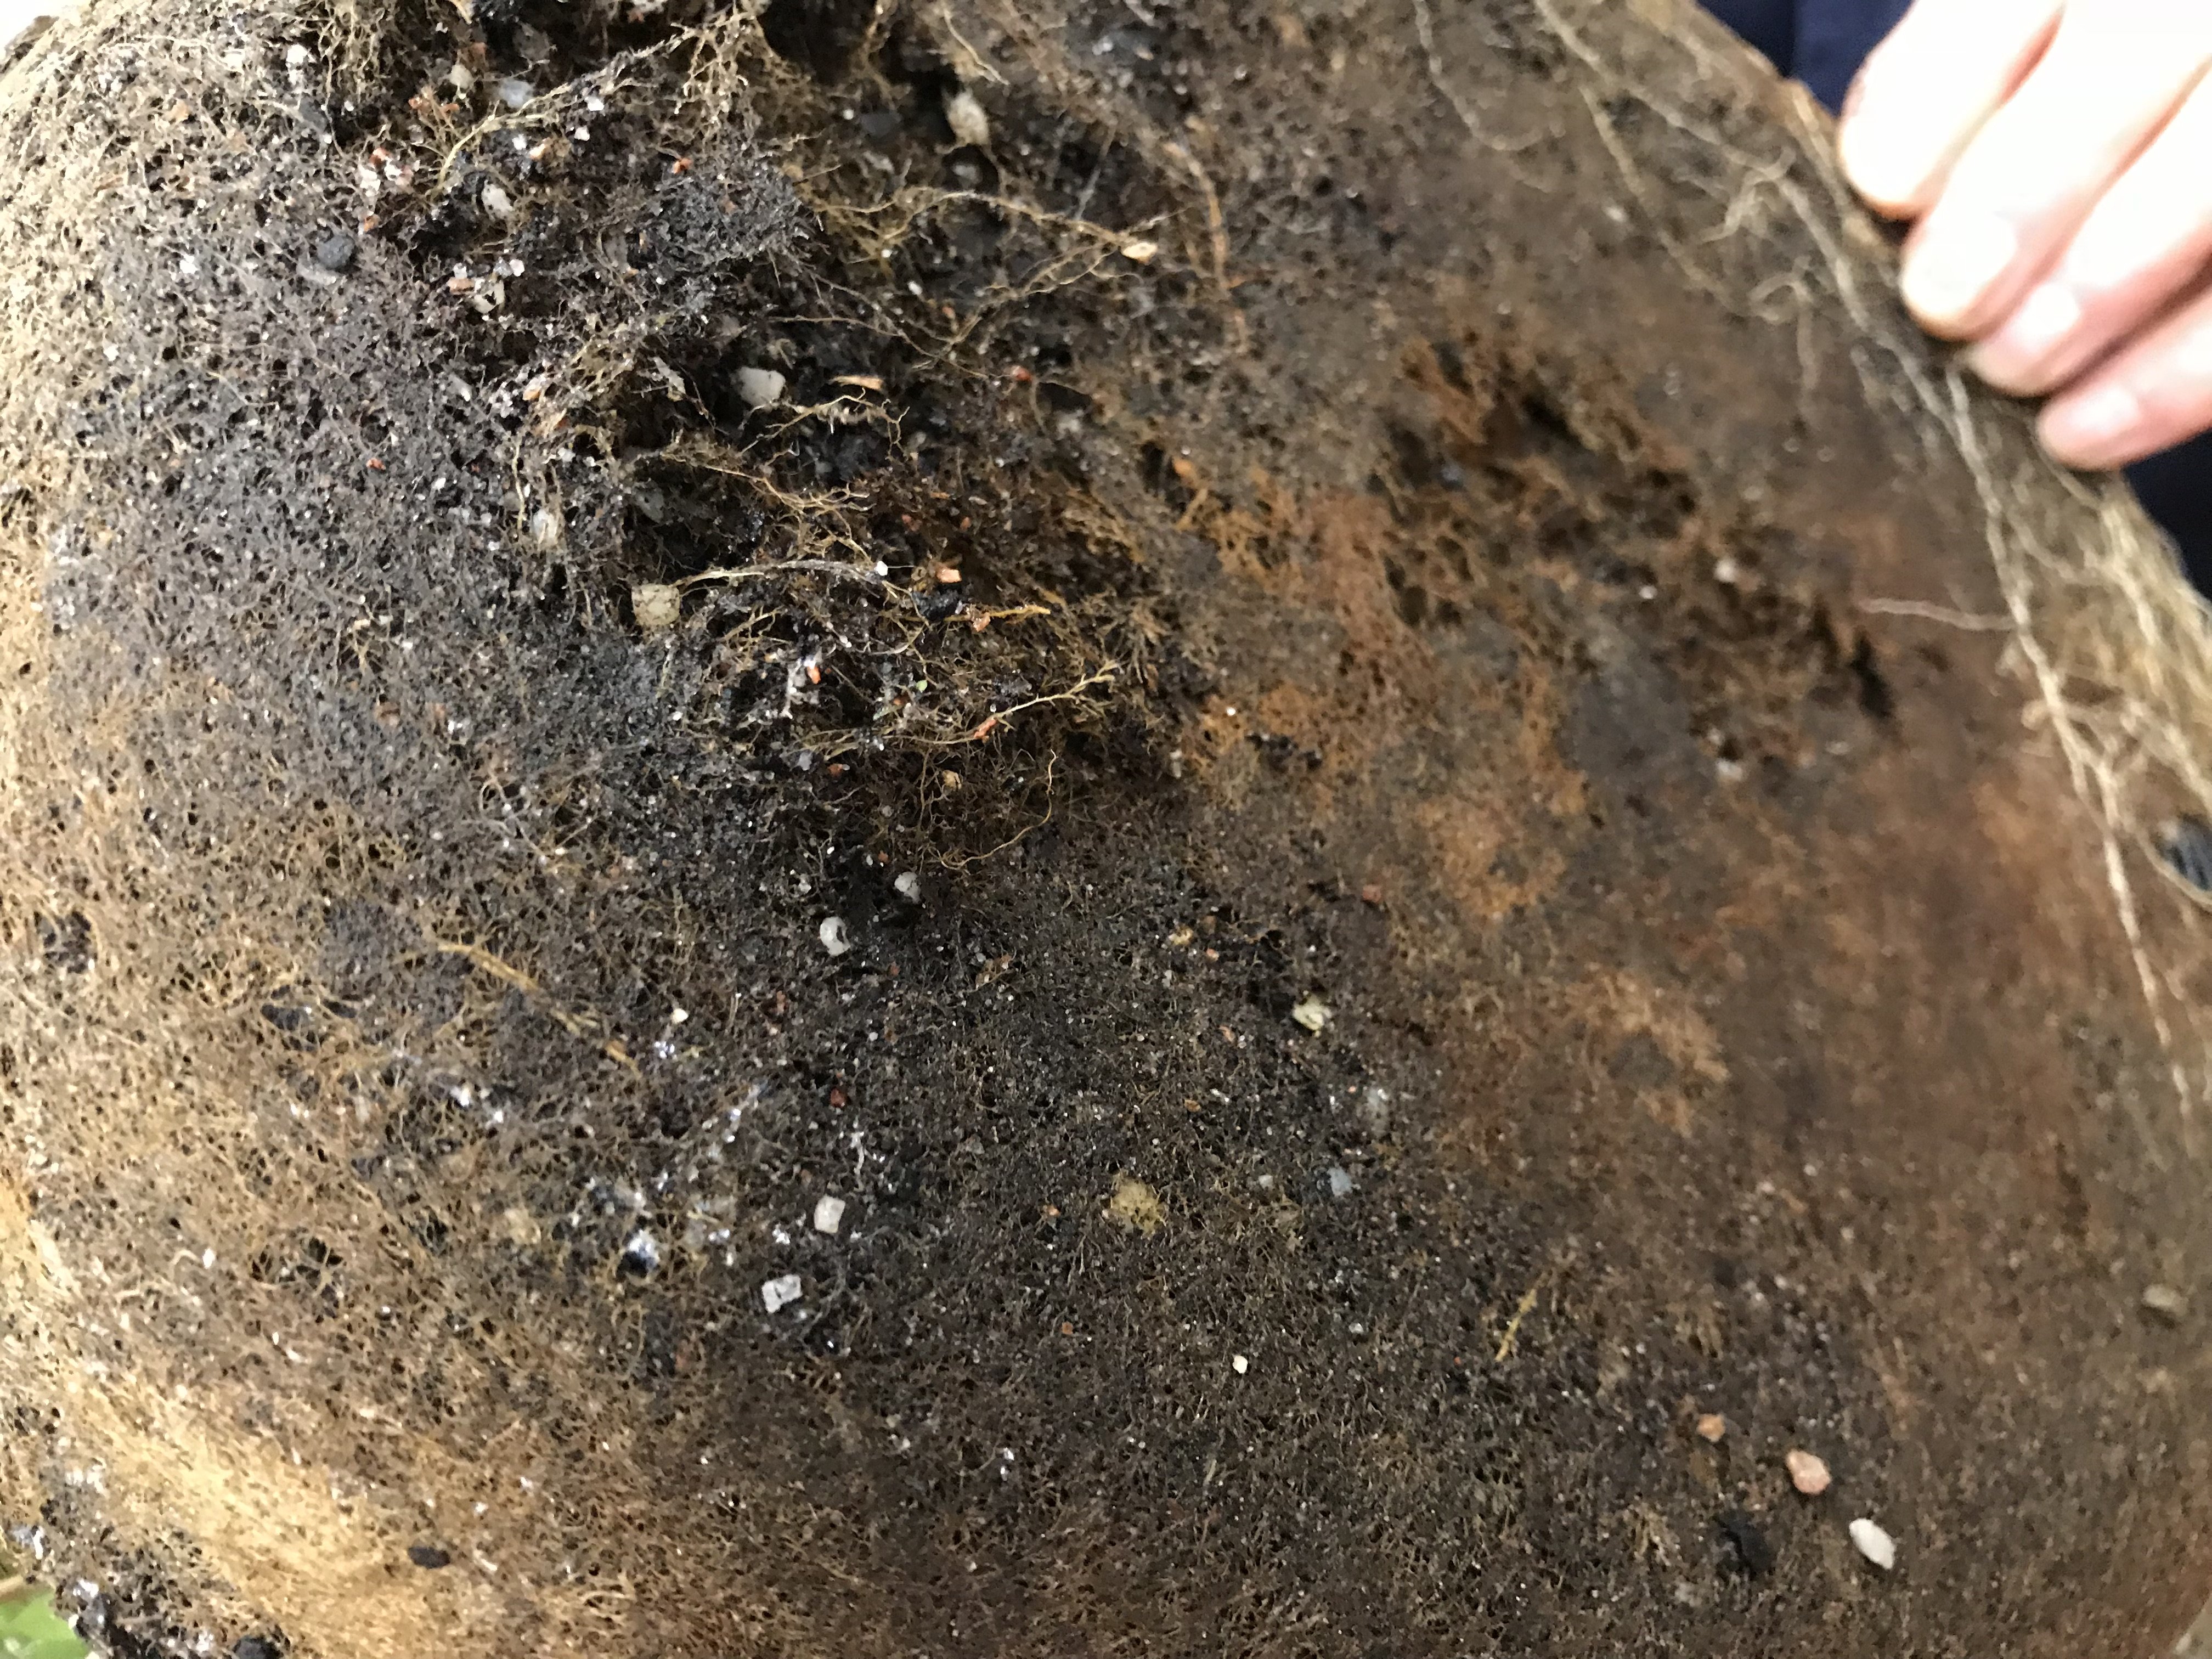 Azaleas need repotting when the container is filled with a felt-like mass of roots as the plant can no longer easily absorb water and nutrients. Brenda uses a serrated knife to saw at least half or the roots off and then takes at least an inch off all the way around the sides.
This doesn’t hurt the tree because the roots are so matted. She then cuts a hollow from under the trunk leaving a concave shape and then uses a root hook to excavate more, removing as much of the dry powdery soil and roots as she can taking it back to the base of the tree where she can feel the wood. Brenda scrapes from the centre out so the roots are ready to make a quick start in the pot. Preferring a wire brush to a rake, Brenda combs out the roots at the top and the azalea is ready to plant.
Soil is mounded up and the hole under the trunk placed over it and firmly wedged in with the little feeder roots fanning outwards. The soil is then gently firmed around the plant by hand and Brenda lets water from the hose get the soil into position